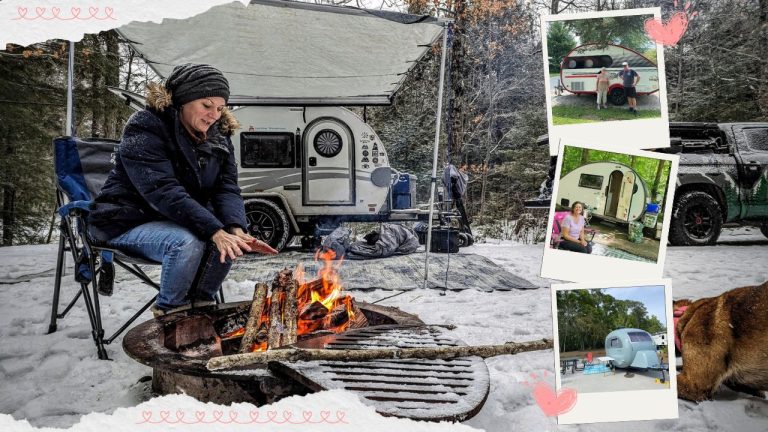
Well… we made it. Spring is FINALLY here. Don’t get me wrong, I love winter; the first snowfall, skiing, Christmas – it’s great. But the snow and cold get old after a few months. The only downside to spring is that it’s non-stop raining. While it is going to reach the high 60’s next week, the weather is calling for rain EVERY. DAY. Anyway, I’ll stop boring you with weather updates. You’re all familiar with spring cleaning which is why this post is dedicated to RV Cleaning.
RV Cleaning Checklist
- Exterior
- If you’re like me, you can’t stand a dirty car/truck (unless it’s meant for off-road adventures). The thought of salt and crud on my car is unbearable and makes me cringe. That’s why the first step in cleaning your camper is to give it a bath.
- Bathroom:
- If you’ve never thoroughly cleaned your toilet, now would be a good time to do so. Start by pouring a mix of lemon juice and baking soda into the toilet bowl and letting it sit for at least 15 minutes. Once the time is up, scrub the bowl with a brush and flush.
- Once you’ve cleaned the bowl, clean the exterior of it with disinfecting wipes.
- Using a microfiber cloth, spray some vinegar onto your mirror and wipe it down. While the smell might not be as pleasant as Windex, I can assure you that the result is a beautiful shine.
- If you’ve never thoroughly cleaned your toilet, now would be a good time to do so. Start by pouring a mix of lemon juice and baking soda into the toilet bowl and letting it sit for at least 15 minutes. Once the time is up, scrub the bowl with a brush and flush.
- Sleeping Area:
- Now that winter is over, you can finally ditch your heavy comforter and blankets and switch them with lighter weight ones.
- Clean your old sheets and blankets and store them in your closest until next year.
- Dinette:
- Clean your table with disinfecting wipes or a microfiber cloth.
- Kitchen:
- If you spent all winter cooking food in your camper but never really cleaned the stove and sink, it’s likely your tops are looking quite grimy. No worries, though. Just mix baking soda and water and clean them. They’ll be looking brand spanking new.
- Clean your refrigerator by dipping a sponge into warm, soapy water and allow it to air dry.
- Other:
- If you have any wood finishes in your RV, you probably have a scratch or two in them. An easy way to make the scratches go unnoticeable is to make a mixture of 1/4 cup vinegar and 3/4 cups of olive oil. Once you have this mixture, dip a soft cloth into it and rub it onto the scratch. Wah-lah!
- Last but not least, vacuum the floor. I hate walking around and getting crumbs in my socks. Get a small portable vacuum and sweep up those unwanted particles.
Now that you’ve cleaned your camper, you’re ALMOST ready to take it out on the road. The last step, if you haven’t done so already, is to de-winterize your camper. It sounds like a tough process, I know, but it’s actually the complete opposite. Here’s how to de-winterize your camper:
RV Cleaning: De-Winterizing
- Mix a bleach solution (1/2 cup per gallon of water).
- Flush the system with this solution to sanitize it.
- Flush it with 2 full tanks of water to get rid of the sanitizing solution.
RV Cleaning: Completed ✓
That’s it! You’re done! Time to hit the road and start camping. If you’re not sure where to start camping, check out our bucket list of places to camp at!
Recent Articles